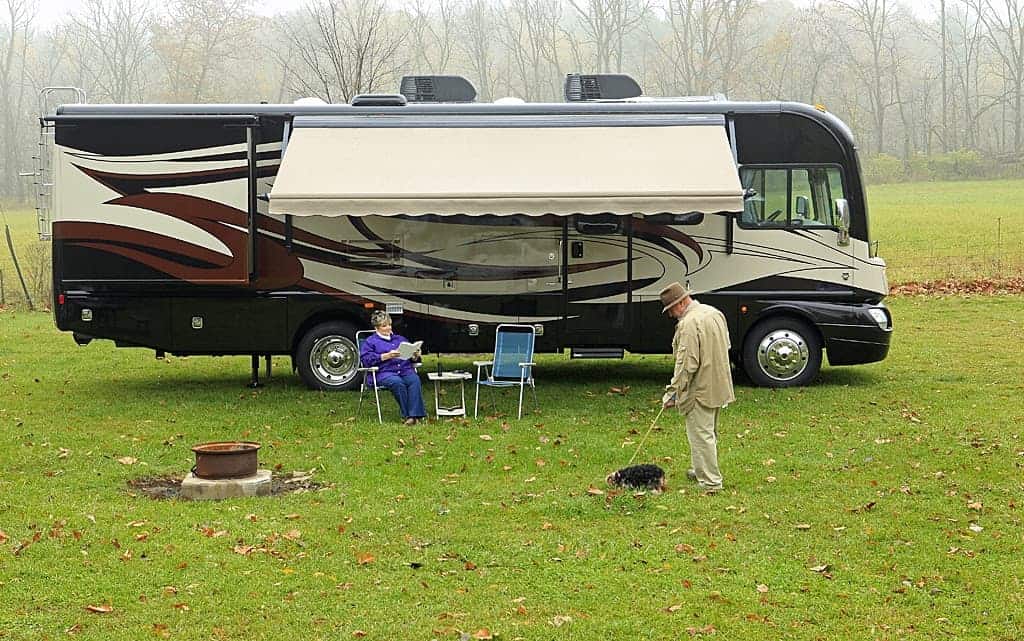
You just bought an RV and can’t wait for your first RV camping trip, but you want to make sure you know what to do once you arrive at an RV campsite or RV park. While there will be differences in the set up process depending on the type of RV you have (Class A, Class B, or Class C), these basic steps will give you a general idea of what to do when you arrive at your destination.
- Once you arrive, assess your RV campsite by identifying all campground connections and think about the best positioning — one that provides access to all connections. Think about how far your slide outs will extend, and where there will be enough room to put your awning out. Also, make sure the area is clear of low hanging branches or other obstructions that might interfere with set up.
- Make sure you set your parking break, level the RV, and chock the wheels.
- If there is a battery disconnect switch for the chassis battery, turn it off to prevent drain on the starting battery. If you have an auxiliary battery disconnect switch for the coach battery, make sure that the battery disconnect switch is on.
- Pull out the entry steps. If your RV has an automatic switch for the entry steps, be sure to turn it off so that they steps stay out when the door is closed.
- Remove the slide out travel locks. Pull out your slide outs and check to be sure that they won’t interfere with your hook ups. Have someone monitor your clearance and keep an eye out for any obstacles in the slide out path.
- Test the RV campsite electricity voltage with a voltmeter prior to plugging the unit in. Pull enough power cord from the compartment to reach the campsite electrical connection. Plug into the receptacle that matches the amperage requirements of your RV. Use electrical adapters as required. Be aware that some campgrounds also have a circuit breaker in the box that must be turned on to allow electricity to the RV.
- Turn the refrigerator on and hook up your water pressure regulator to the campground water supply.
- Remove the cap from the sewer hose valve (while wearing gloves) and attach the sewer hose to the sewer drain outlet. Be sure to turn the hose so that the tabs lock securely in place. Place the sewer hose donut or seal in the campground sewer connection. Then, attach the other end of the sewer hose in the donut. Be sure to get a good seal and connection.
- Turn the main LP gas supply valve on at the tank or bottles.
These are just some of the basic steps you will need to take when setting up your RV campsite, and when you return from your RV adventures, don’t forget to share your trip photos with us on the Easy Escapes Facebook Page!


